
Wechat/Whatsapp: +86 135 6409 8916
Email: sales@oswellshunt.com
Wechat/Whatsapp: +86 135 6409 8916
Email: sales@oswellshunt.com
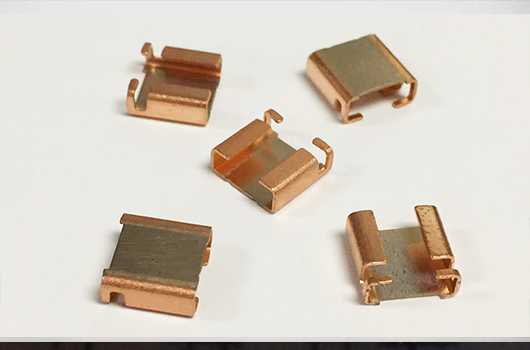
The production and manufacturing process of surface mount resistors typically involves the following steps:
1. Substrate Preparation: The substrate material, usually ceramic or fiberglass, is prepared and cut into appropriate sizes.
2. Deposition: A thin film of resistive material, such as carbon or metal alloy, is deposited onto the substrate using techniques like sputtering or vapor deposition.
3. Photolithography: A photoresist layer is applied onto the deposited film and exposed to UV light through a photomask, enabling the creation of a pattern on the resistive material.
4. Etching: The exposed resistive material is chemically etched away, leaving behind the desired resistive pattern.
5. Passivation: A passivation layer is applied to protect the resistive pattern from environmental factors like moisture or contamination.
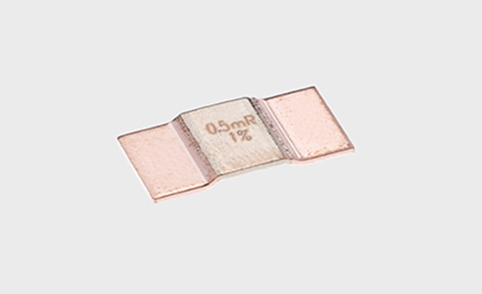
6. Termination: Metal contacts or terminals are added to the resistive pattern, allowing for connection to the circuit board.
7. Testing: The surface mount resistors undergo rigorous testing to ensure their electrical performance meets the required specifications.
8. Packaging: The resistors are packaged in reels, tubes, or trays, ready for transportation and use in electronic assembly processes.
9. Quality Control: Random samples from the production batch are inspected for quality assurance, verifying resistance values, tolerance, and adherence to industry standards.
10. Distribution: The finished surface mount resistors are distributed to manufacturers or distributors for integration into various electronic devices.
Please note that this is a general overview of the manufacturing process for surface mount resistors; specific details may vary depending on the manufacturer and resistor type.
Comparison between SMD Shunts and Current Sensors: Contrasting the Advantages, D...
2023-12-11 view+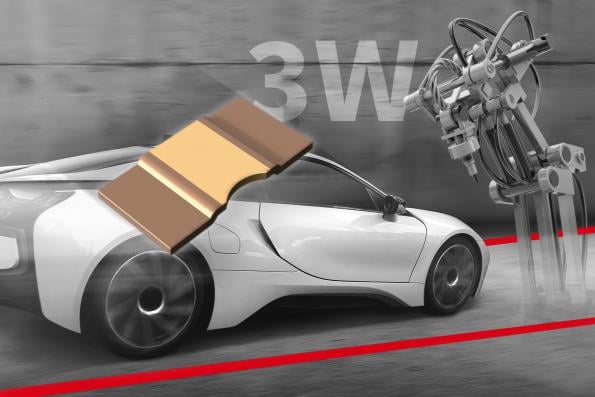
Shunt resistors play a crucial role in current sensing and measurement applicati...
2023-10-31 view+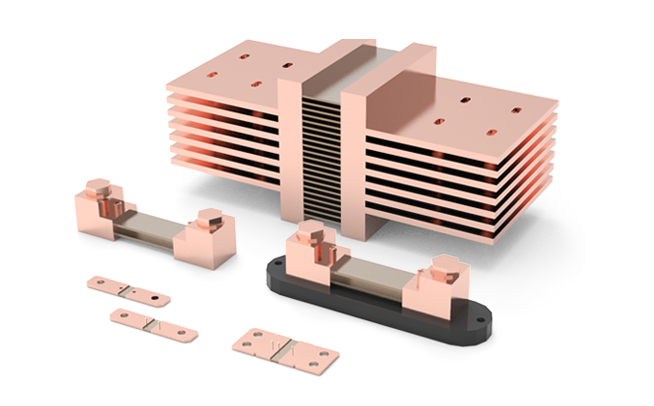
A Shunt Resistor is an automobile current detecting resistor, an automobile shun...
2023-03-25 view+
A power divider is an electronic component widely used in electronic circuits. I...
2023-05-20 view+

Tel:+86 21 68756810/90 Fax:+86-21-68671885-16
E-mail:sales@oswellshunt.com
Address: RM. 701-703,738 DONG FANG ROAD,SHANGHAI 200122,CHINA